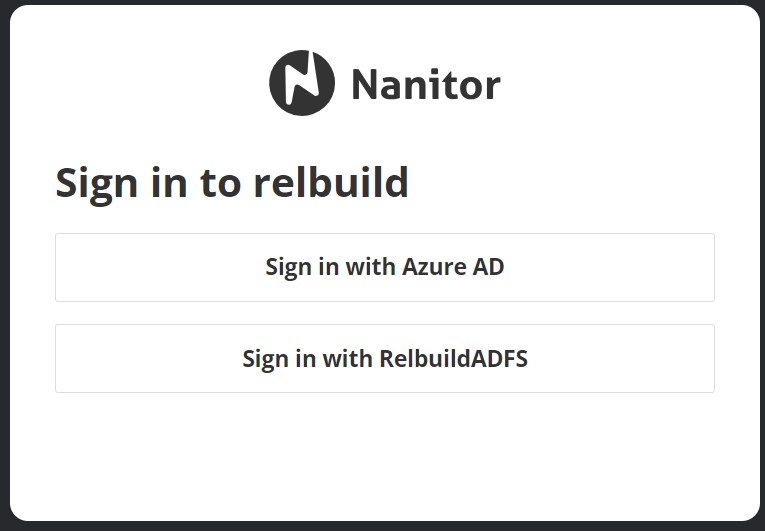
Authentication options
To access Nanitor instance, you need to login to your account. On a fresh install, you will be provided with a username and password to be entered to authenticate yourself against the Nanitor instance. You can add as many users to your Nanitor instance as needed. Nanitor offers various ways for authentication: * Local authentication. * SAML authentication. * Active Directory authentication.
In this guide, you will be walked through setting up Nanitor along with your identity provider for both SAML and AD and how to manage users locally if you prefer Nanitor managing all your user base and their privileges. When you have an identity provider configured, the users will use the SAML link to access Nanitor. You can have several identity providers and use local authentication alongside your identity provider.
To see a list of installed identity providers navigate to Organization Management → Users and switch to the SAML permissions tab.

Local authentication
Local authentication is where Nanitor stores and verifies the identity through the use of an email address and password and optionally or mandatorily a second-factor time-based code (2FA). To manage the local user base, you need to be a Nanitor administrator. Navigate to the administration menu.
 To create new users, view existing users, and delete a user click on Users under Organization Management and to view all registered users and delete a local user you navigate to Users under System Management. For further instructions on how to create a new local user refer to the knowledge base article.
To log locally into Nanitor: 1. Enter the email on the login screen and click Sign In. 1. On the next screen, enter the password and click Sign In.
Mandatory Two-Factor Authentication
System Administrators can enable a global security setting that requires all users with local authentication to use two-factor authentication. When this setting is enabled, users will be prompted to configure 2FA on their next login if they haven't already done so. For more information, see System Management > Security Settings.
SAML authentication
SAML (Security Assertion Markup Language) authentication is a widely used standard for exchanging authentication and authorization data between applications, in particular, between an identity provider (IdP) and a service provider (SP) for web-based applications (Nanitor in our case). It enables a Single Sign-On (SSO) functionality, allowing users to authenticate to Nanitor with an identity provider available at your organization. An SSO functionality increases the user experience with Nanitor. Nanitor supports connection with the following identity providers:
- Microsoft’s Azure Active Directory
- Okta
To set up a SAML provider contact our support team or follow the instructions from our knowledge base.
Exempt from Force 2FA
Users who authenticate via SAML are exempt from Nanitor's global Force 2FA setting, as multi-factor authentication is managed by your organization's identity provider.
Inviting SAML Users
Once a SAML provider is set up and SAML permissions are defined, you need to invite users:
-
Open the SAML permissions tab on the Users page under the Organization management .
-
Click Invite users.
-
Do one of the following:
-
Copy the link displayed in the opened window and send it directly to users.
-
Enter users' emails and then click Invite users.
-
-
The user must open the link received via email or sent to them in another way and proceed with account activating using their SAML provider credentials.
- Once the account is activated, the users will have to enter their email when logging into Nanitor and then they will be automatically taken to the SAML provider authentication screen.
Active Directory (AD) authentication
Windows Active Directory (AD) can be used with a Windows Domain Controller to authenticate users. To set up and configure an AD connection, contact our support team or follow the instructions from our knowledge base.
Exempt from Force 2FA
Users who authenticate via Active Directory domain login are exempt from Nanitor's global Force 2FA setting, as authentication is managed by your domain controller.
